
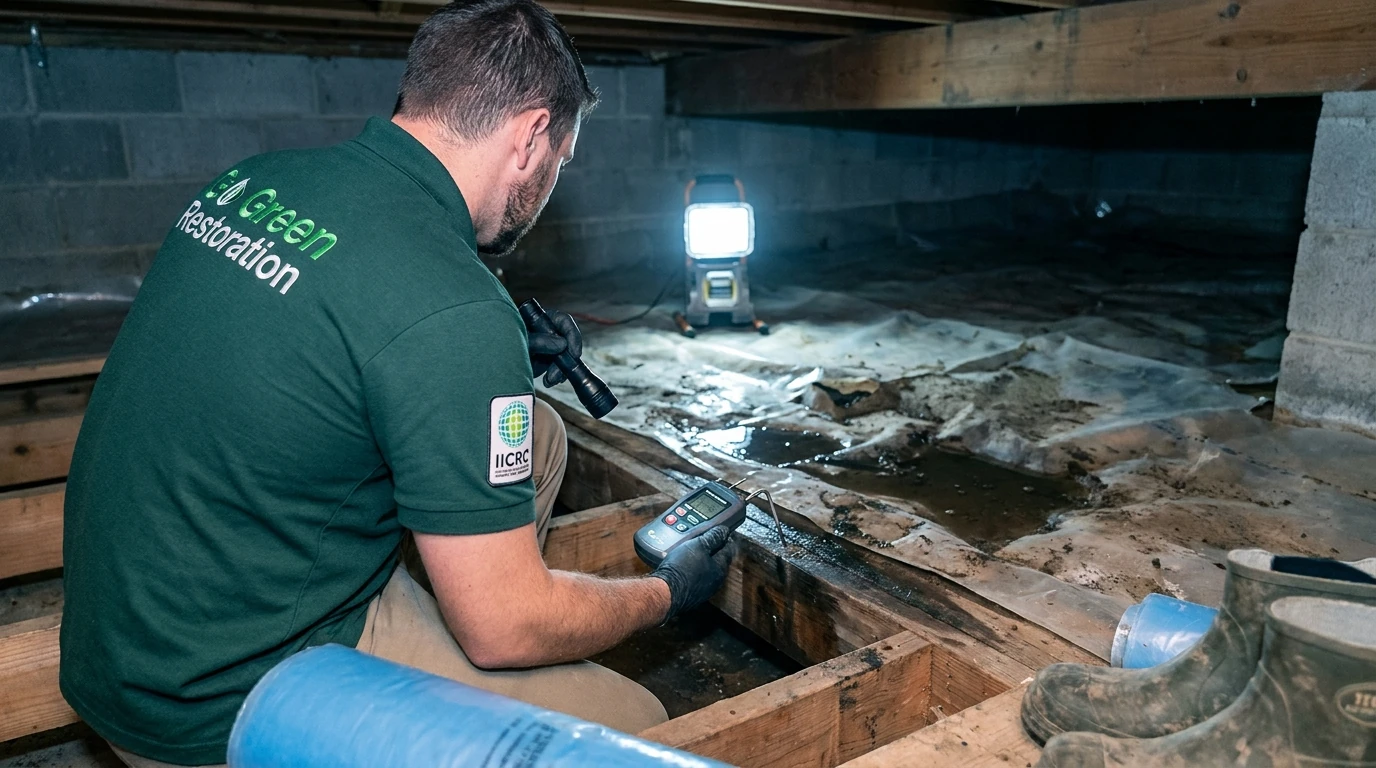
TL;DR: Water in your crawl space after heavy rain usually enters through poor drainage, a failed vapor barrier, or foundation vents left open during a storm. Remove standing water within 24-48 hours, check for wet insulation and vapor barrier damage, improve drainage if needed, and call a restoration professional if water is deeper than an inch or if you see mold growth. Mold can colonize wet wood and insulation in as little as 24-72 hours under humid conditions.
You just got through a heavy storm and now you’re crouched at the crawl space hatch, flashlight in hand, looking at water where there shouldn’t be any. Maybe it’s a thin sheen across the vapor barrier. Maybe it’s two inches of standing water against the foundation wall. Either way, the clock is running. North Carolina’s summer humidity means a wet crawl space can grow mold faster than almost anywhere else in the country, and the damage compounds quickly once it starts. Here’s what to check and what to do, in order.
Why Does Water Get Into a Crawl Space After Rain?
Crawl space flooding after heavy rain almost always traces back to one of four causes: grading that slopes toward the foundation, clogged or undersized gutters and downspouts, foundation vents that let in storm-driven water, or a vapor barrier that has shifted, torn, or was never installed correctly. In low-lying areas near rivers like the Tar River corridor around Rocky Mount or the streets near the Neuse River in Smithfield, groundwater pressure during a major storm can push water up through the soil itself, bypassing even a well-maintained barrier.
Understanding the source matters because it determines whether this is a one-time cleanup or a recurring problem. A single slow-draining event after a 4-inch rain is different from a crawl space that fills up every time it rains an inch. The checklist below helps you figure out which situation you’re in.
What to Check in Your Crawl Space After a Storm
Before you go in, make sure the power to any outlets or fixtures in the crawl space is off at the breaker. Standing water and electricity are a serious hazard. Wear rubber boots, gloves, and an N95 respirator at minimum, since wet crawl spaces often have elevated mold spore counts even before visible growth appears.
Work through this checklist in order:
1. Measure the water depth. Use a long stick or a ruler. Less than half an inch across the vapor barrier is a different situation than two inches of standing water against the foundation. Depth determines urgency.
2. Check the vapor barrier. A 6-mil or 20-mil poly vapor barrier should cover the entire ground surface with seams overlapped and edges running up the foundation walls. Look for tears, gaps, or areas where water has pooled underneath the barrier and lifted it. A damaged barrier lets ground moisture evaporate directly into the crawl space year-round, not just after storms.
3. Inspect the insulation. Fiberglass batt insulation hanging between floor joists absorbs water like a sponge. Wet insulation loses nearly all of its R-value, and it holds moisture against the wood framing above it for weeks. Press on any batts you can reach. If they feel heavy or sag, they are wet. Wet insulation almost always needs to come out. See our post on insulation removal and installation for what that process involves.
4. Look at the floor joists and sill plates. The sill plate is the horizontal wood member that sits directly on top of your foundation wall. It is the first piece of framing water reaches, and it is the most common place to find early rot or mold after repeated moisture events. Look for dark staining, soft spots, or any fuzzy growth.
5. Check the foundation vents. Open foundation vents let storm-driven rain blow directly into the crawl space. If your vents are the older manual type, note whether they were open during the storm. If they are automatic, check that the louvers are functioning and closing properly.
6. Assess exterior drainage. Once you are back outside, walk the perimeter of the house. The ground should slope away from the foundation at roughly 6 inches of drop over the first 10 feet (the standard referenced in most residential building codes). Look at where your downspouts terminate. If they dump water within 3 feet of the foundation or into a clogged splash block, that water is finding its way in.
How to Dry Out a Crawl Space After Flooding
Drying a crawl space is slower than drying a finished room because airflow is limited and the soil itself holds moisture. The EPA’s guidance on mold prevention is clear: materials that stay wet for more than 24-48 hours are at serious risk of mold growth. That window is your target.
For minor water intrusion (less than half an inch, no standing water):
- Run a dehumidifier rated for crawl spaces (look for units rated at 70 pints per day or higher; standard room dehumidifiers are undersized for most crawl spaces).
- Increase ventilation if outdoor conditions allow. Open foundation vents if outdoor humidity is below indoor humidity, typically early morning on a clear day after the storm has passed.
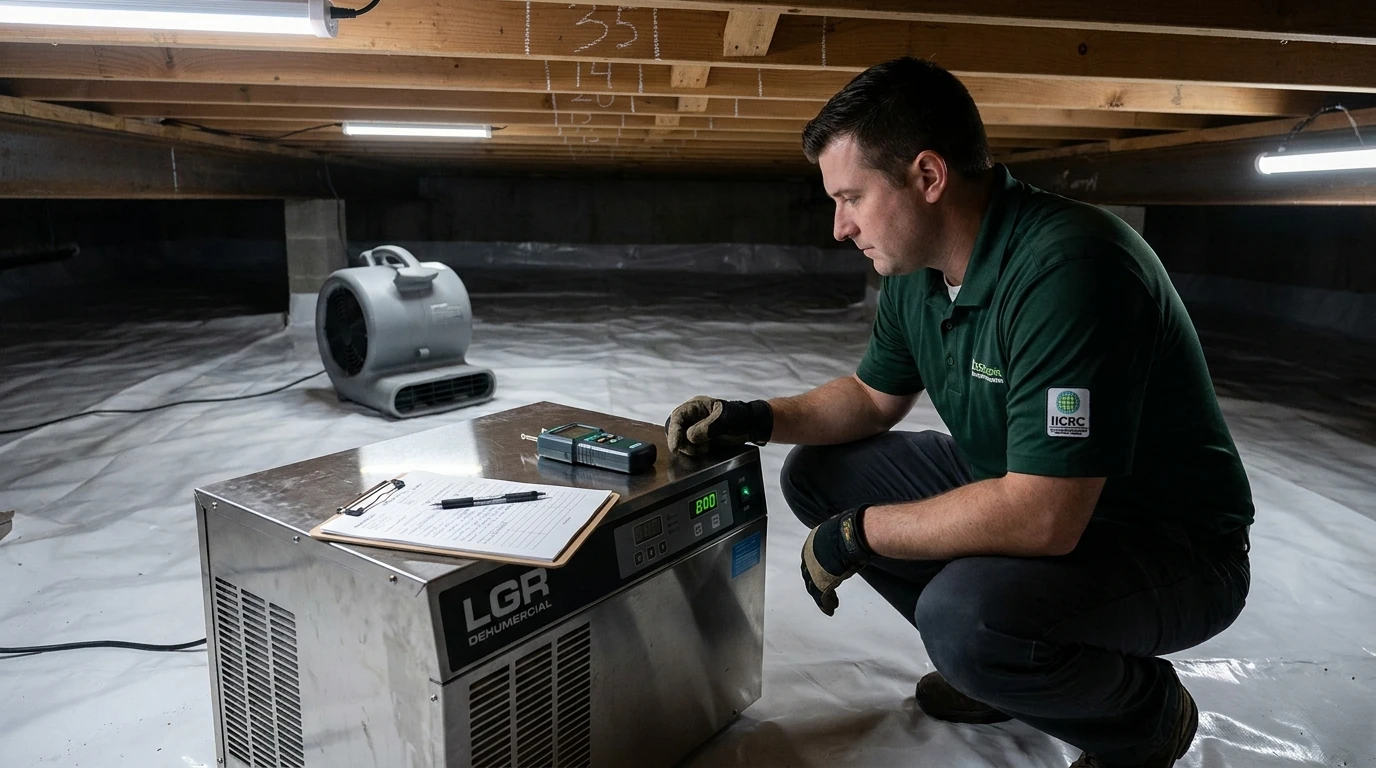
- Check moisture readings with a pin-type moisture meter on the floor joists. Wood should read below 19% moisture content. Above that, you have an active drying problem.
- Recheck every 24 hours.
For standing water (more than half an inch):
- A submersible pump or wet/dry vacuum removes bulk water first. Get the standing water out before running dehumidifiers.
- Remove wet insulation. It cannot dry in place effectively and holds moisture against the framing.
- Run commercial-grade LGR (Low Grain Refrigerant) dehumidifiers. These are the units restoration professionals use because they pull moisture efficiently even at lower temperatures and humidity levels where standard units stall out.
- Monitor with a moisture meter until joists read consistently below 19% and the vapor barrier surface reads dry.
If you are not seeing consistent drying progress within 48 hours, the moisture load is likely beyond what consumer equipment can handle. This is the point where professional water damage equipment makes a real difference. Read our guide on what to do in the first 24 hours after water damage for a broader look at the timeline.
When Should You Call a Professional?
Call a restoration professional if any of the following are true after your initial assessment:
- Standing water is deeper than one inch or covers more than a third of the crawl space floor.
- You see visible mold growth on joists, sill plates, or the vapor barrier. Mold in a crawl space can spread to the subfloor and into the living space above through air movement and HVAC systems.
- The floor joists or sill plate feel soft, spongy, or show dark staining that does not wipe off.
- The wet insulation covers a large area and you cannot safely remove and dispose of it yourself.
- You cannot identify where the water came from, which means you cannot stop it from happening again.
- Moisture meter readings on the joists stay above 19% after 48 hours of active drying.
A professional assessment also matters for insurance purposes. Homeowners policies vary significantly on crawl space water damage coverage. Sudden, accidental intrusion (like a storm event) is more likely to be covered than gradual moisture accumulation. Documenting the damage with photos and a written scope before work begins protects your claim. For a detailed look at how coverage typically works, see our post on homeowners insurance and water damage.
What Fixes the Problem Long-Term?
Drying out the crawl space handles the immediate damage. Preventing the next event requires addressing the root cause.
For most homes in central and eastern North Carolina, the most effective long-term solution is crawl space encapsulation. This involves installing a heavy-duty vapor barrier (typically 20-mil reinforced poly) across the entire floor and up the foundation walls, sealing foundation vents, and conditioning the crawl space air so it stays dry year-round. An encapsulated crawl space is dramatically less vulnerable to storm-driven moisture intrusion and eliminates the ground evaporation that drives humidity up in the summer.
For homes where exterior drainage is the primary issue, French drains, extended downspout runs, and regrading around the foundation address the source before water reaches the crawl space at all. In some cases, a sump pump installed inside the crawl space provides a last line of defense for homes in low-lying areas where groundwater pressure is the issue.
Go Green Restoration of NC handles both the immediate water damage response and the long-term encapsulation work across the region. If you are looking at a wet crawl space right now and want a professional assessment, call (919) 906-5473. Go Green operates 24/7 and can help you document the damage, dry the space correctly, and put together a written scope before any work begins.
About Go Green Restoration of NC
Go Green Restoration of NC is an IICRC-certified restoration company based in Middlesex, NC, serving homeowners and property managers across the Triangle, Rocky Mount, Wilson, Smithfield, and surrounding communities. Their crews handle water damage restoration, mold remediation, crawl space encapsulation, insulation removal and installation, fire damage restoration, air duct cleaning, and carpet cleaning. Go Green Restoration operates 24/7 and provides written scopes before work begins on every project.